

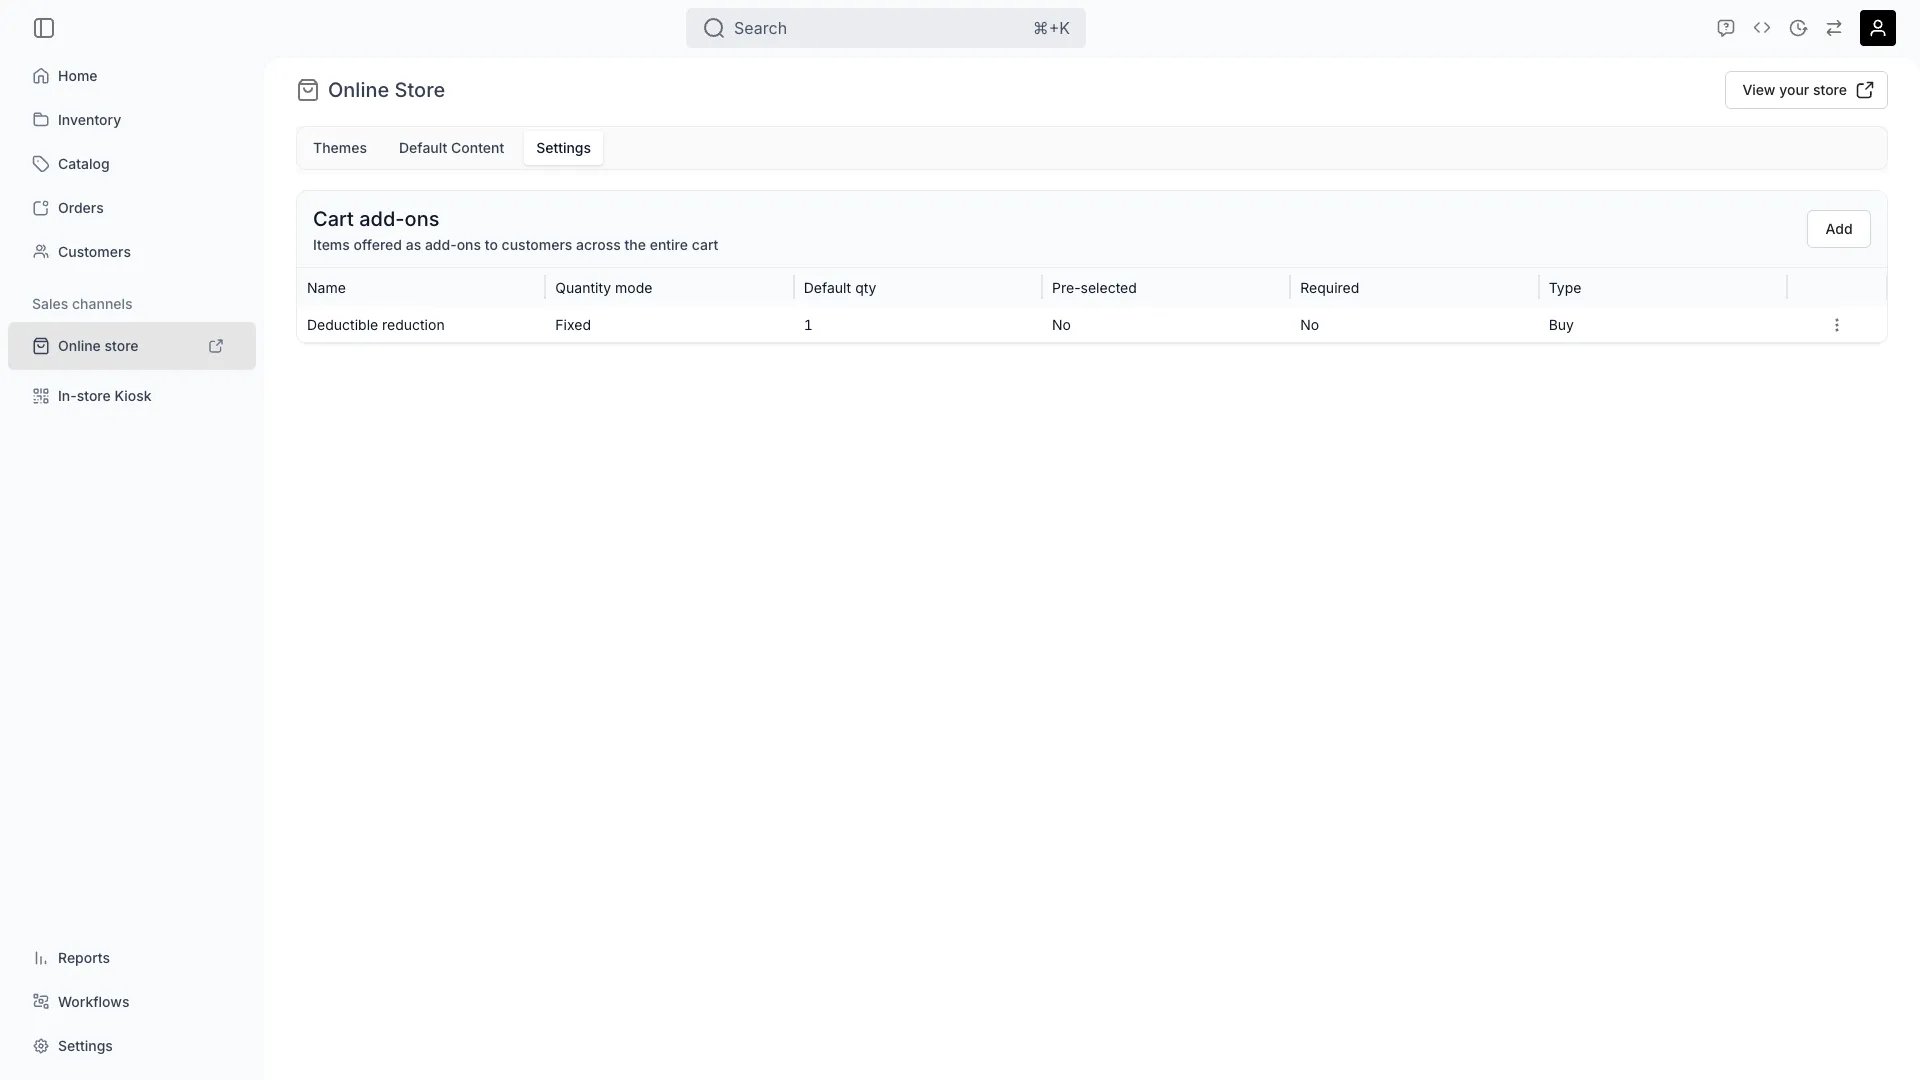
Sales Channels > Online Store
Definition
The Online Store is the public-facing storefront TWICE ships with — no separate platform to host, no plugin to install. It reads from the same Listings, Stock Items, Pricing Tables, and Locations you manage in the admin, and it writes back Orders into the same orders table that staff-created orders land in.Storefront architecture
The Online Store has three layers:
The storefront editor renders the actual customer experience, so you can preview changes in any viewport before saving. Saving writes them to the live storefront immediately — there is no separate publish step.
Pages in the storefront
The storefront has a fixed page set — what you customize is layout, content, and visuals, not the page structure itself:
Page paths are fixed; the domain they are served from depends on your domain setup.
Theme system
Your storefront has a single theme configuration — a set of design tokens covering colours, typography, layout, and component styles. There are no versioned theme bundles, no theme library, and no draft themes: the storefront editor edits the one configuration directly, and saving applies it to the live storefront immediately. Configure the theme through the panels in the storefront editor’s Theme mode. There are 21, in one list rather than grouped: Announcement bar · Availability indicator · Breadcrumbs · Buttons · Calendar · Cart store selector · Collapsible section · Collection card · Colors · Custom CSS · Filter section · Header bar · Inputs · Layout · Listings card · Logo · Pickup availability · Search bar · Theme style · Typography · Variant pills Read more: Themes · Theme editorMulti-store support
A store on the storefront is a service Location — the same Locations you manage in the admin. When more than one Location is enabled for the Online Store channel, the storefront shows a Stores page, a Store page per Location, and a store selector customers use before checkout. All stores live inside one storefront. They do not carry their own theme, domain, or language set — the account’s single theme configuration, domain setup, and storefront languages apply to every store. What varies per store:- Which Listings are available (based on the Listings published to the store’s Location)
- Stock and availability, driven by the Location’s Stock Items and opening hours
Domain configuration
The storefront is served from one of two domain types:
How many custom domains you can connect depends on your plan — see Domains.
Configure domains under Settings → Domains. TWICE provisions SSL automatically once DNS is verified.
Read more: Domains setting
Customer accounts on the storefront
What does exist is the link in the other direction: a checkout matches an existing customer profile by email and updates it, so staff see one accumulating record per customer in the admin even though the customer has no way to log in and read it themselves. See Collect customer data at checkout.Channel availability per Listing
Listings are not automatically shown on the storefront. Each Listing has a publishing tab that controls:- Whether the Listing is published to the Online Store channel
- Which stores it appears in (for multi-store accounts)
- Whether it’s visible to all customer groups or restricted
- Whether the Listing is searchable, browsable in collections, or only reachable by direct link
Store selection
On storefronts with multiple active Locations, customers choose which Location they order from before checking out. The store selector appears in two places:- Top bar — a button on every storefront page (except checkout) that opens a slide-out sidebar listing all active Locations. Each entry shows the store name, address, and opening hours.
- Cart page — a selector with real-time availability feedback. It shows how many Locations can fulfill the current cart and marks each store as “Cart available” or “Cart unavailable” based on stock levels for the selected dates and quantities.
Booking and purchase flow
The listing page contains a booking widget where customers complete their purchase selection. The widget adapts to the listing’s purchase types:- Booking — the customer picks dates and times from an availability calendar, selects variant options (size, colour), chooses a quantity, and adds to cart
- Sale — the customer selects variants and quantity, then adds to cart
- Subscription — the customer picks a subscription plan and start date
Booking options and the selected date
The dropdown lists items in this order:- The purchase option
- Choose your own dates
- The listing’s fixed duration options
- Any subscription plans
Leaving checkout
A customer who reached checkout from your storefront can leave it from the first step with Back to store, which returns them to the cart. The checkout header logo goes to the same place. Both are a full page load rather than in-app navigation, so the checkout page’s state is torn down: details submitted on an earlier step are stored on the checkout, but anything typed on the current step and not yet submitted is lost. Customers who opened a checkout link instead of shopping the storefront get no such exit — they never had a cart to return to. See Step navigation for the back button on every other step.Inventory and availability on the storefront
The storefront reads from your live inventory:- Customers see real-time availability based on Stock Item commitments and unavailability windows
- For rentals, the calendar shows date ranges with available units, blocked dates, and Location-specific opening hours
- When a customer selects a store, the booking widget shows per-store availability and pricing
- Out-of-stock and unavailable Listings can be hidden, greyed out, or shown with a “next available” hint depending on theme configuration
- When a customer selects a store, availability narrows to that Location’s stock — see Listing Availability for how eligibility and stock checks layer on each other
- Items in the cart are counted as booked while the customer keeps shopping, buffer windows included — see Items already in the cart
Settings that affect the storefront
Several other settings shape what the storefront does:Relationships
Related articles
Online Store overview
Set up and configure the storefront
Themes
Open the storefront editor
Theme editor
Visual editor with per-page panels
Domains
Custom domains and TWICE-hosted URLs
Listings
What gets published to the storefront
Locations
Locations and store channels