> ## Documentation Index
> Fetch the complete documentation index at: https://www.twicecommerce.com/docs/llms.txt
> Use this file to discover all available pages before exploring further.
# Checkouts
> Build and manage checkout configurations — the flow customers follow from cart to confirmation.
export const userRoleDefinition = "What a user can see and do. Each user has one built-in system role — Owner, Admin, Manager, or Member — and can also be assigned any number of custom roles you create with specific permissions. Effective access is the combination of all their roles.";
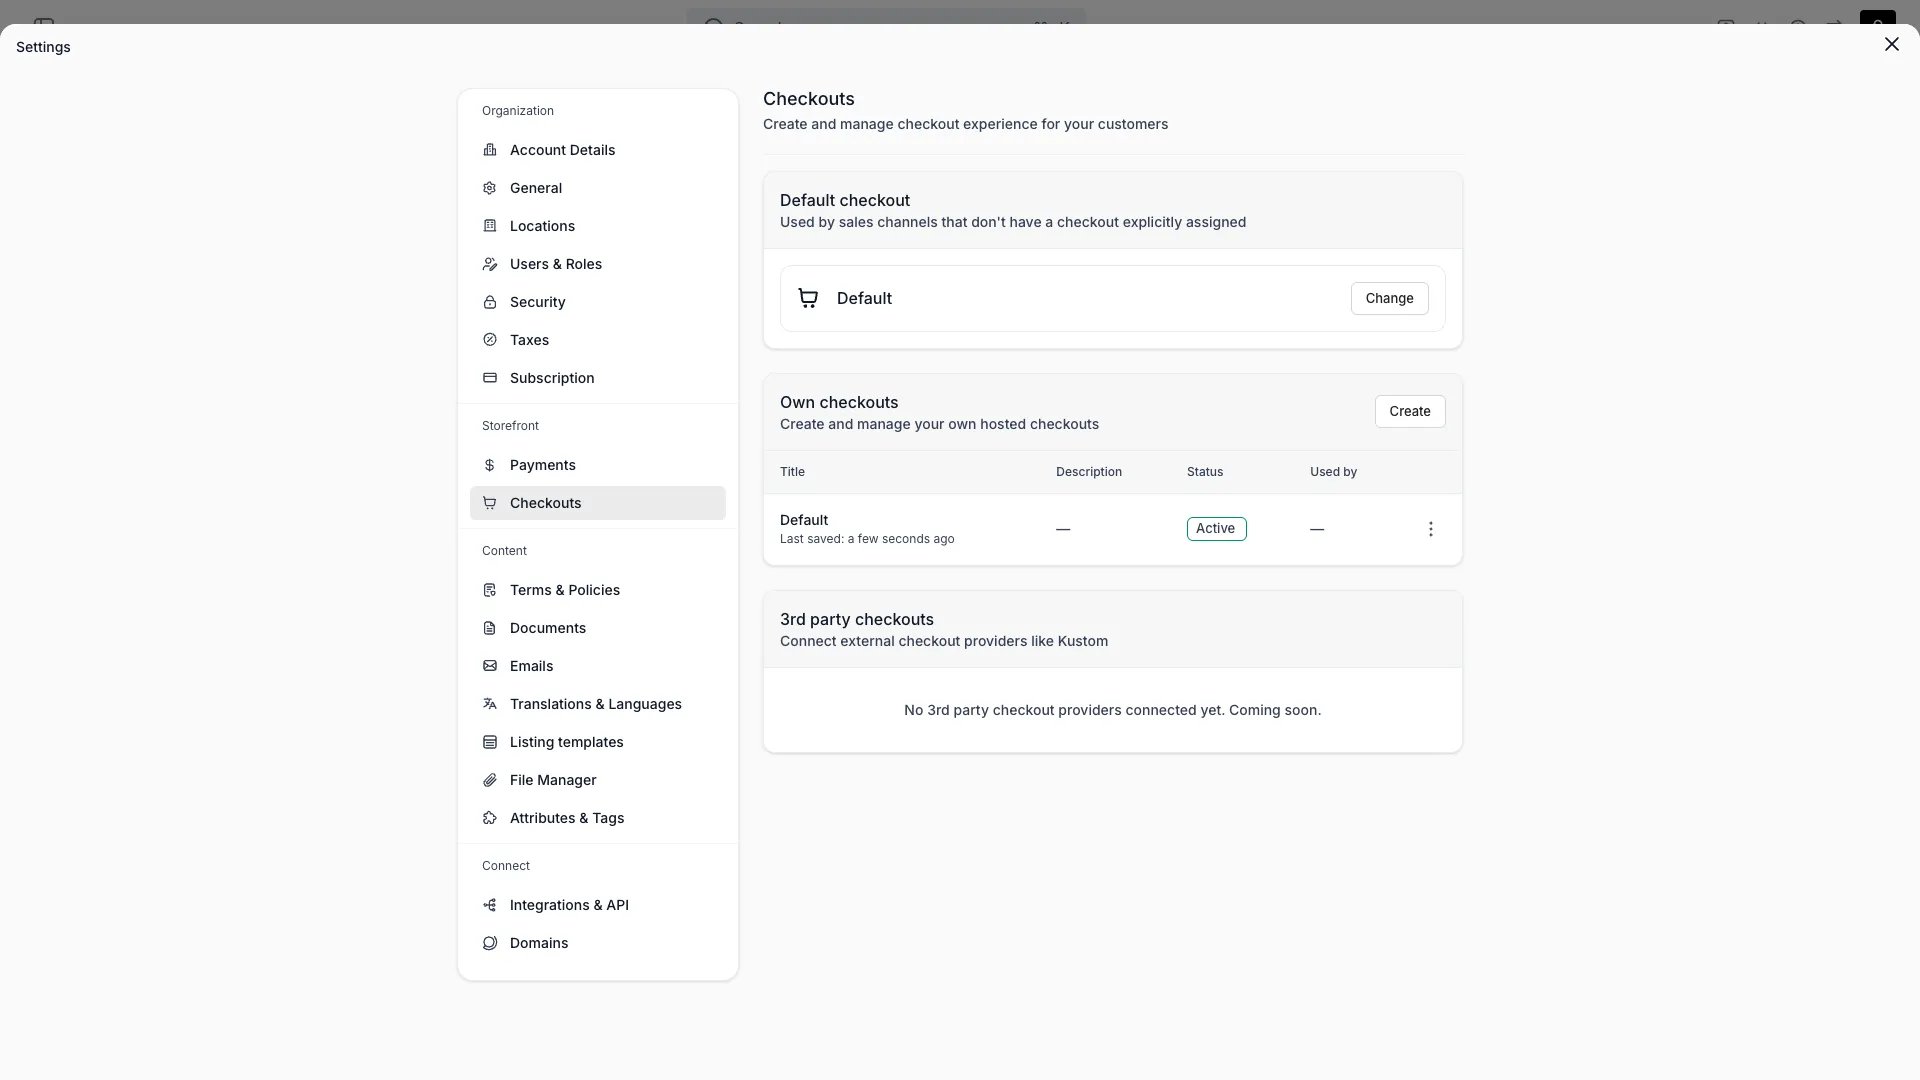 This view can look different dependent on your user role.
See [Visibility & Permissions](#visibility-and-permissions) for details.
## Primary Purpose
A **checkout** is a configurable flow that takes a customer from cart to confirmation. You can build more than one — for example a B2C checkout and a separate B2B checkout — and connect a specific checkout to a storefront.
Each checkout is configured in two parts:
The flow itself — contact, delivery, payment, confirmation, and the fields shown at each step.
Colours, typography, inputs, buttons, and layout of the checkout.
## Checkout configurations
| Setting | Description |
| ----------- | ----------------------------------------------------------------- |
| Name | Internal name for the checkout configuration. |
| Description | Internal notes about what the checkout is for. |
| Status | **Draft** while you build it, **Active** when it is ready to use. |
| Default | Mark one checkout as the default for the storefront. |
| Languages | Choose which of your store languages this checkout supports. |
## Usage
1. Create a checkout configuration and give it a name.
2. Configure its [steps and sections](/docs/settings/checkouts/steps).
3. Adjust the [styling](/docs/settings/checkouts/styling) to match your brand.
4. Set its status to **Active**, and mark it **Default** or connect it to a storefront.
You can **duplicate** an existing checkout to start from a working configuration.
## Per-location checkout assignment
You can assign different checkout configurations to different [Locations](/docs/concepts/admin/locations). This is useful when locations have different checkout requirements — for example, a warehouse location that only ships might use a checkout without a pickup step, while a storefront location offers in-store pickup.
### How to assign
Per-location checkout assignments are managed in the [storefront editor](/docs/sales-channels/online-store/theme-editor/pages/checkout). Open the Checkout page settings and add a location override to map a checkout configuration to one or more locations.
* Each location can be assigned to one checkout configuration at a time.
* One checkout configuration can serve multiple locations.
* Only **active** checkout configurations can be assigned. Draft checkouts are not available for location assignment.
* Only locations with the **online store** channel enabled appear in the assignment picker.
### Resolution chain
When a customer reaches checkout, the storefront resolves which checkout configuration to show. The resolution follows this fallback chain:
| Priority | Source | Description |
| -------- | ----------------------- | ----------------------------------------------------------------------------------------------------------------------------- |
| 1 | **Location assignment** | If the customer selected a location and that location has a checkout assigned, use it. |
| 2 | **Storefront default** | The checkout pinned to the storefront in [Theme Editor > Checkout](/docs/sales-channels/online-store/theme-editor/pages/checkout). |
| 3 | **Tenant default** | The checkout marked **Default** in Settings > Checkouts. |
If no checkout is resolved at any level, built-in defaults apply.
### Deactivation and deletion guards
A checkout configuration that is assigned to a location cannot be deactivated or deleted. You must first remove the location assignment in the storefront editor before changing the checkout's status to **Draft** or deleting it.
Removing a location assignment means that location falls back to the storefront default or tenant default checkout. Verify the fallback is appropriate before removing an assignment.
## Visibility and Permissions
Access to this view is controlled by your user role.
| Feature | Admin | Manager | Member |
| ------------- | :---: | :-----: | :----: |
| View settings | ✓ | ✗ | ✗ |
| Edit settings | ✓ | ✗ | ✗ |