> ## Documentation Index
> Fetch the complete documentation index at: https://www.twicecommerce.com/docs/llms.txt
> Use this file to discover all available pages before exploring further.
# Order - Attributes
> View and edit custom attribute values captured on an order.
export const viewAccessDefinition = "Read-only access without ability to make changes.";
export const editAccessDefinition = "Update and read data, but cannot create or delete.";
export const manageAccessDefinition = "Create, update, read, and delete data.";
export const permissionsDefinition = "The actions you are authorized to perform.";
export const visibilityDefinition = "Which features, sections, or data tables are visible to you.";
export const userRoleDefinition = "What a user can see and do. Each user has one built-in system role — Owner, Admin, Manager, or Member — and can also be assigned any number of custom roles you create with specific permissions. Effective access is the combination of all their roles.";
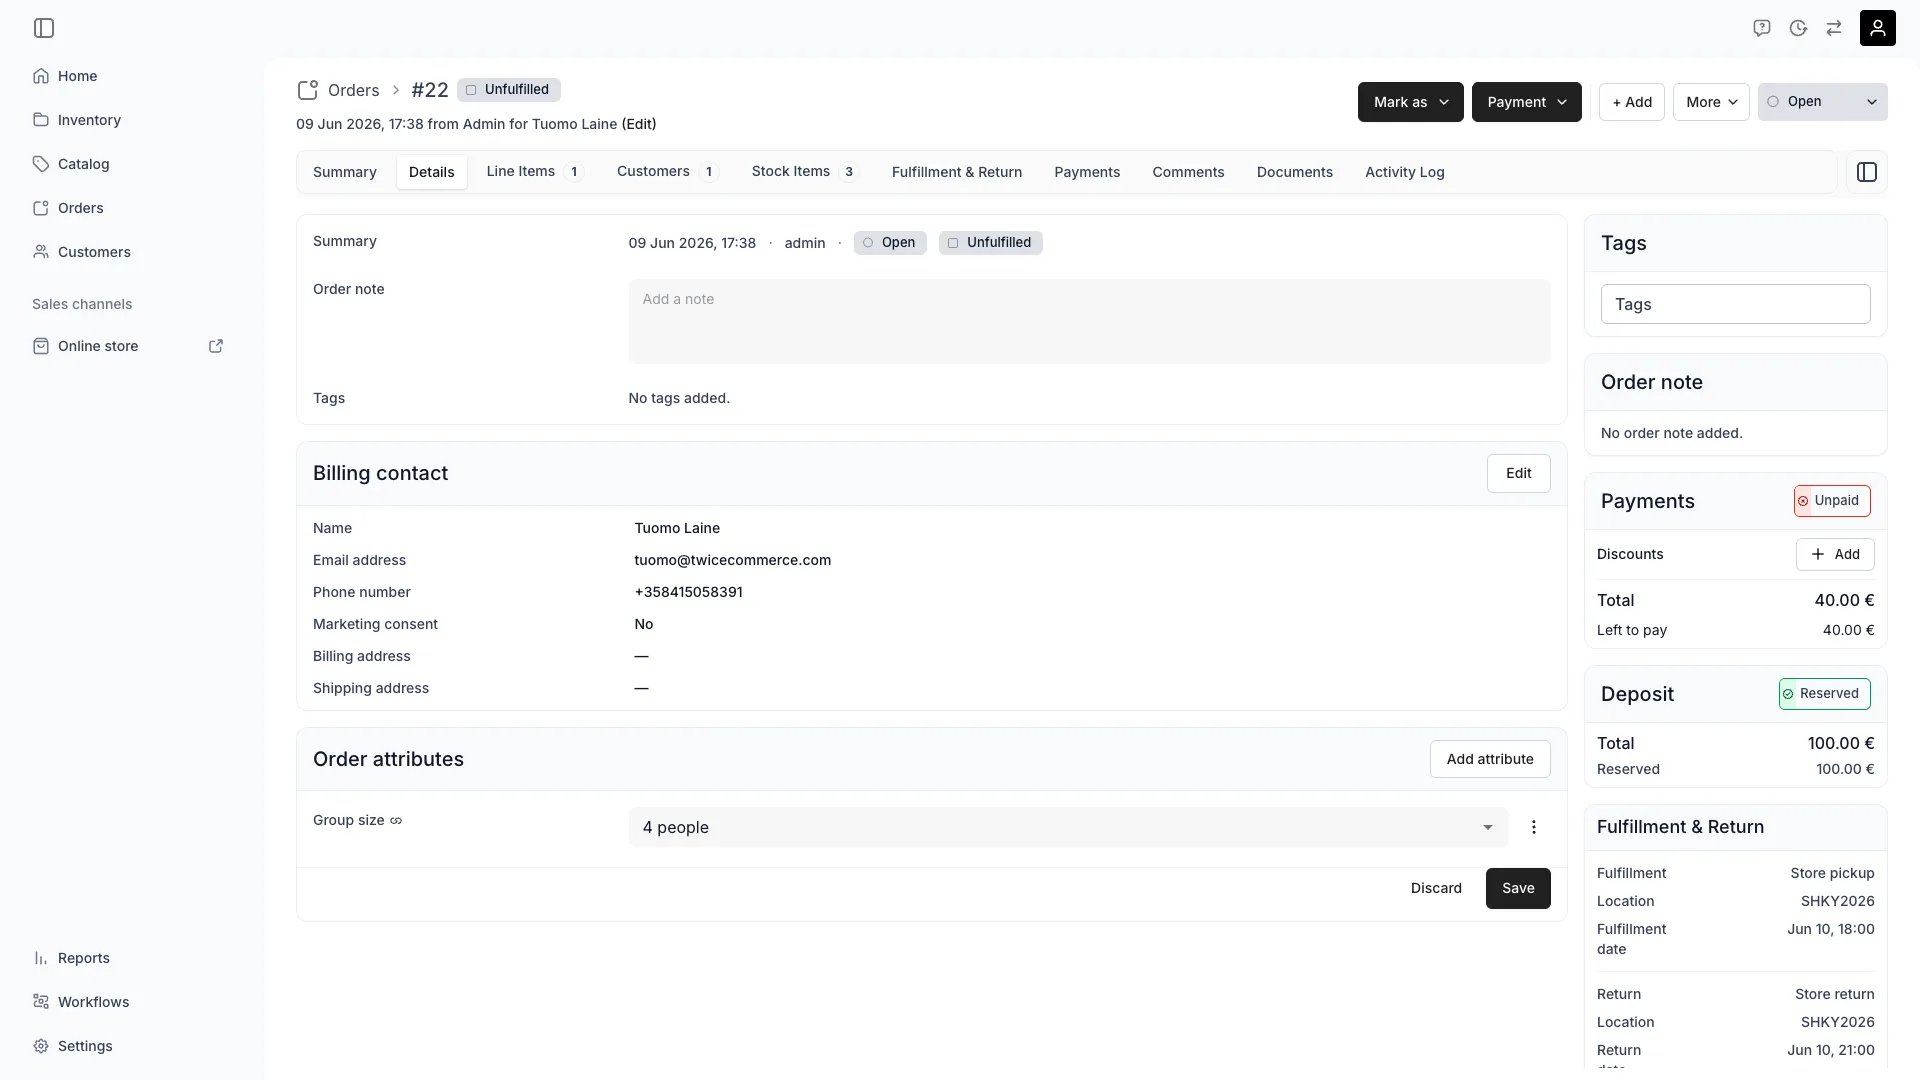 This view can look different dependent on your user role.
See [Visibility & Permissions](#visibility-and-permissions) for details.
## Primary Purpose
The Attributes card on the order detail page displays custom field values for the order. These are [Attributes](/docs/concepts/admin/attributes) scoped to the **Orders** resource — separate from customer attributes, which live on the customer profile.
See all attribute values collected for the order. Global attributes always appear, even when no value has been captured. Non-global attributes appear only when a value exists.
Add, update, or remove attribute values directly on the order. Click **Add attribute** to pick from available order-scoped attributes, edit values inline, then save.
Order attributes can be collected automatically at checkout. Add an attribute field to your [checkout contact form](/docs/settings/checkouts/steps#contact) and bind it to an Orders-resource attribute. The customer's response is saved to the order when the checkout completes.
Captured order attribute values render in the order confirmation email. Global attributes always appear (with a dash placeholder when empty). Non-global attributes appear only when a value was captured. Values are formatted per your tenant locale — dates, times, select labels, and boolean Yes/No.
Order attributes surface as filterable, sortable columns in the orders table. Show them via the column controls.
## How values are captured
Order attribute values come from two sources:
| Source | How it works |
| :------------------------ | :------------------------------------------------------------------------------------------------------------------------- |
| **Checkout contact form** | Add an attribute field to the checkout and bind it to an Orders-resource attribute. The customer fills it during checkout. |
| **Manual entry** | Open an order in the admin and add or edit values on the attributes card. |
When an attribute field on the checkout is bound to an attribute with `resource: orders`, the value routes to the order. When it is bound to an attribute with `resource: customers`, it routes to the customer profile instead. The attribute's resource scope controls the destination — the checkout form configuration is the same for both.
Order attributes are per-order. Editing a value on one order does not affect other orders, even for the same customer. This makes them suitable for order-specific data like cost centres, gift messages, or special instructions.
## Order attributes vs customer attributes
| | Order attributes | Customer attributes |
| :-------------------- | :------------------------------------------------------ | :------------------------------------------------ |
| **Scope** | One order | Customer profile (shared across all their orders) |
| **Resource** | `orders` | `customers` |
| **Where they appear** | Order detail page, orders table, confirmation email | Customer detail page, customers table |
| **Checkout capture** | Same checkout form — routed by attribute resource | Same checkout form — routed by attribute resource |
| **Use cases** | Cost centre, gift note, PO number, special instructions | Loyalty tier, certification, dietary requirements |
## Related Concepts
Order attributes are defined in [Attributes](/docs/concepts/admin/attributes) under the Orders resource. All eight attribute formats (text, number, boolean, date, datetime, select, multiselect, formula) are available.
Add attribute fields to the checkout contact form under [Steps & sections](/docs/settings/checkouts/steps). Bind each field to a customer or order attribute.
## Visibility and Permissions
Access to this view is controlled by your user role. Your user role determines both
visibility and
permissions for
manage,
edit, and
view access levels.
| Feature | Admin | Manager | Member |
| --------------------- | ----- | ------- | ------ |
| View attribute values | ✓ | ✓ | ✓ |
| Edit attribute values | ✓ | ✓ | ✗ |
| Resource | Admin | Manager | Member |
| ---------------- | ------ | ------- | ------ |
| Order attributes | Manage | Edit | View |