> ## Documentation Index
> Fetch the complete documentation index at: https://www.twicecommerce.com/docs/llms.txt
> Use this file to discover all available pages before exploring further.
# How to set up the online store and connect a custom domain
> Take the storefront from the address TWICE gives you to one on your own domain — designing it, attaching a checkout, and getting DNS through verification.
 sales-channels/online-store
You do not create an online store in TWICE — every account has one, already reachable at an address TWICE provides. Launching is therefore not a build; it is three decisions: how it looks, how customers pay, and what address it answers on.
This guide is that sequence, ending with the storefront live on your own domain.
## Prerequisites
**Required permissions:** `online_store:editor` to design the storefront and `online_store:settings` to change store settings. Connecting a domain needs `account_settings:domain`.
**These do not line up with one role.** Manager holds the online-store permissions but **not** domains. Member holds `online_store:editor` but **not** `online_store:settings`, so a Member can edit the theme and not the store's configuration. **Domains are Owner and Admin only.** See [Users & Roles](/docs/settings/users-roles).
**Before you start, have ready:**
* **Access to your domain's DNS**, at the registrar or wherever the zone is hosted. You cannot finish without it, and it is the step most likely to need someone else.
* **A working checkout**, or the willingness to configure one — a storefront customers cannot pay through is not launched. See [Checkouts](/docs/settings/checkouts).
## The Walkthrough
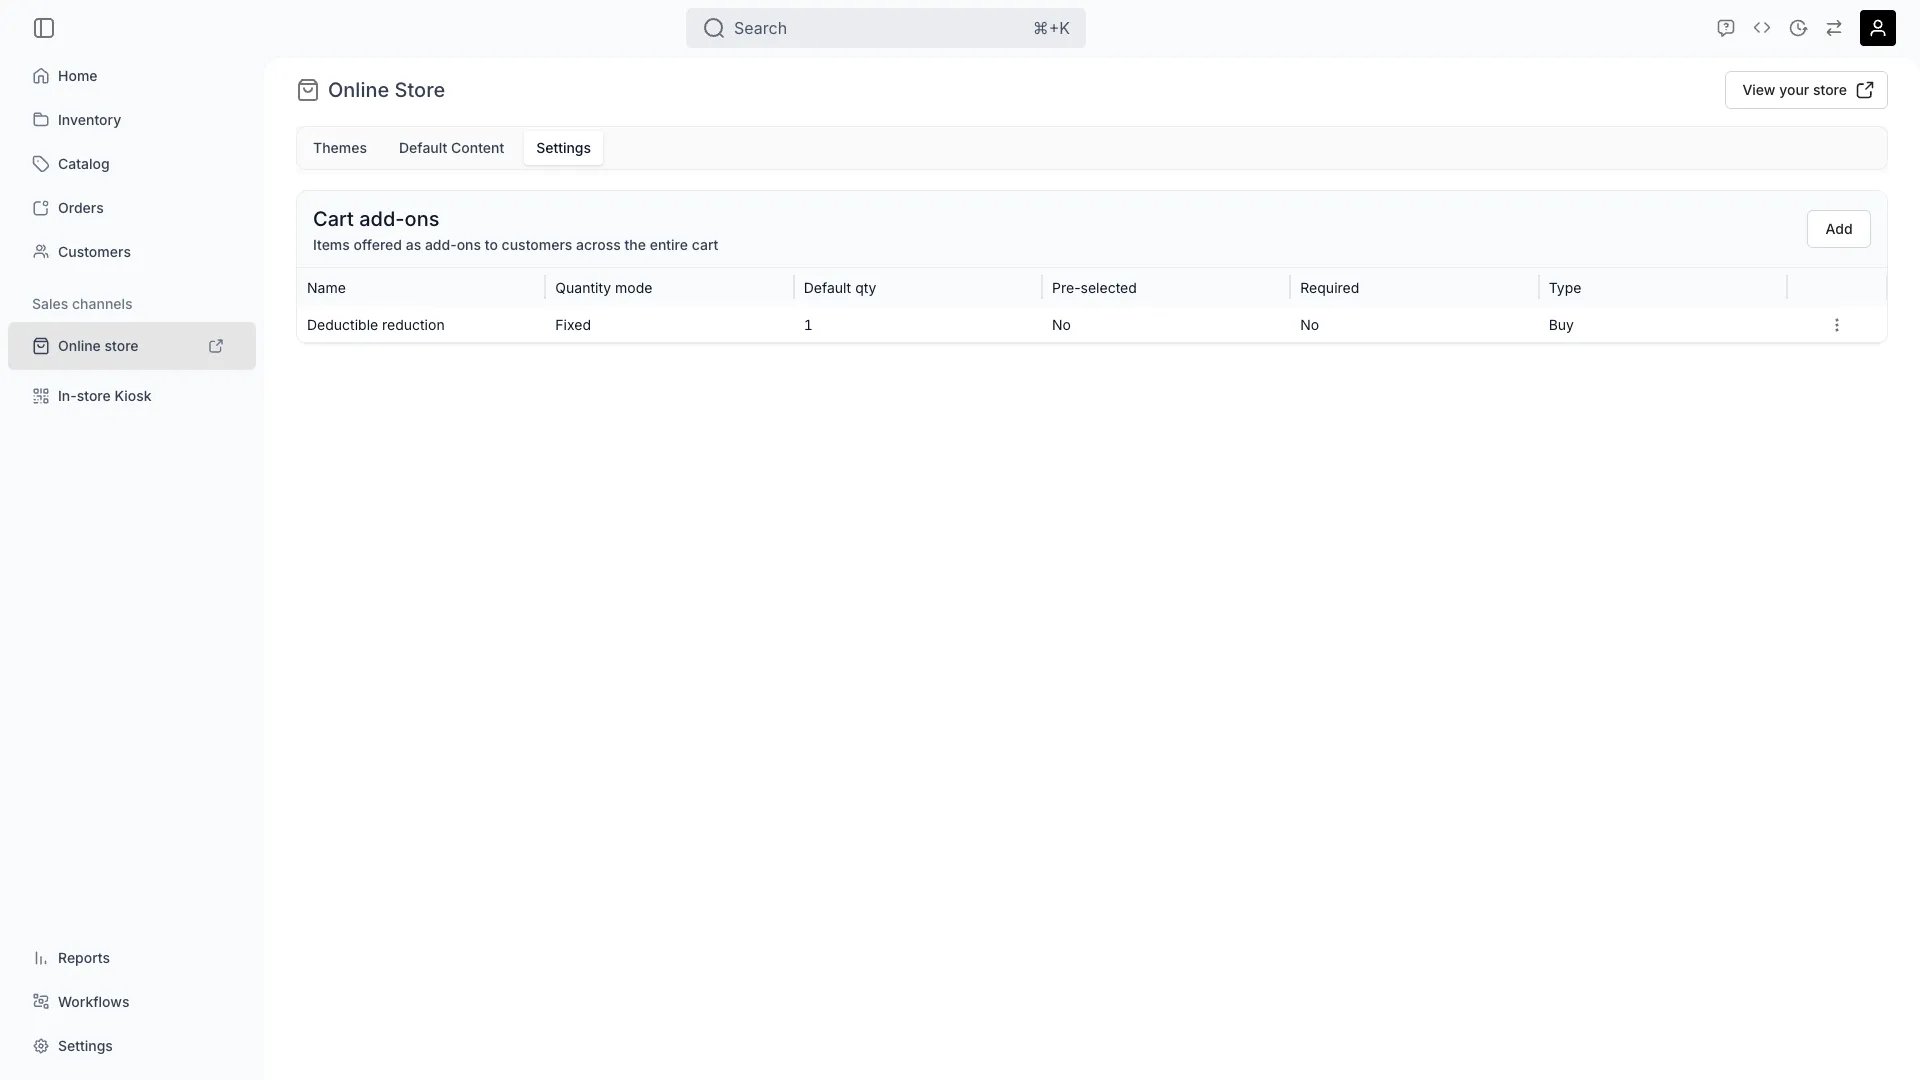
Open **Sales Channels → Online Store**. The storefront exists and is already served at the address TWICE assigns your site; there is no "create store" action to look for.
That address stays valid after you connect a custom domain, so it is a useful fallback while DNS is propagating and a safe place to check your work before you point a real domain at it.
Pick a theme and work through its settings. Each panel is documented on its own page — [Colors](/docs/sales-channels/online-store/theme-editor/settings/colors), [Typography](/docs/sales-channels/online-store/theme-editor/settings/typography), [Logo](/docs/sales-channels/online-store/theme-editor/settings/logo), [Buttons](/docs/sales-channels/online-store/theme-editor/settings/buttons), [Layout](/docs/sales-channels/online-store/theme-editor/settings/layout) — so this guide will not repeat them.
Do enough to be presentable: logo, colors, typography, and the home page. The rest can follow after launch. See [Themes](/docs/sales-channels/online-store/themes) and the [Theme Editor](/docs/sales-channels/online-store/theme-editor/overview).
**Save writes straight to the live storefront.** There is no draft, no publish step and no theme library — your account has exactly one storefront configuration, and the editor edits it in place.
Plan around that rather than against it: make changes in a sitting you can finish, use the editor's own preview across desktop, tablet and mobile before saving, and expect customers to see the result as soon as you do. Closing the editor with unsaved changes prompts you to save or discard.
**Designing the storefront is not the same as putting listings on sale.** The theme decides how the storefront looks; three separate settings decide what a customer can actually buy there. If the storefront renders but the catalog looks empty, that is not a theme problem — see [Where a listing sells](/docs/guides/sales-channels/control-where-a-listing-sells).
A storefront needs a checkout to take money. Configure one under [Checkouts](/docs/settings/checkouts), then attach it — a checkout can be attached per location, so a site with different payment arrangements per store is handled here rather than by duplicating the storefront.
Check the payment methods on the checkout are the ones you intend to offer before you send a customer to it.
Go to **Settings → Domains** and select **Connect a domain**. Enter the hostname — `shop.yourbrand.com`, or the root `yourbrand.com`. TWICE validates the format and creates the record with status **Needs setup**.
The next screen shows the DNS records to add at your registrar. Add them exactly as shown.
**A root domain works via CNAME** where your DNS provider supports CNAME, ALIAS or ANAME at the apex. Not every provider does, and that is a property of your registrar rather than of TWICE.
**DNS changes can take up to 24 hours to propagate**, though they are usually much faster. There is nothing to do but wait, and verifying too early simply fails and can be retried.
Once the records are live, return to the setup dialog and select **Verify**. TWICE checks the hostname resolves, then provisions a TLS certificate through Cloudflare.
The status tells you exactly where you are:
| Status | What it means | What to do |
| --------------- | --------------------------------------------------------- | --------------------------------------------------------------------- |
| **Needs setup** | The record exists; DNS is not verified | Add the DNS records, then **Verify** |
| **Verifying** | DNS checked out; the SSL certificate is being provisioned | Nothing. It usually finishes in a few minutes |
| **Connected** | SSL is active and traffic is routing | You are live on this domain |
| **Failed** | Verification or provisioning failed | Open **View setup instructions** to see the error, fix the DNS, retry |
**Refresh status** re-checks with Cloudflare when you do not want to wait for the next poll.
A **Connected** domain serves the storefront. Making it **primary** makes it the canonical one: every other domain on the account **301-redirects** to it.
Use **Set as primary** once you are satisfied the domain works. Do it before you advertise the address, because the redirect is what stops the same storefront being indexed at two addresses.
**Deleting a Connected domain takes the storefront off that address immediately**, and reconnecting means verifying from scratch. The confirmation says so — read it rather than clicking through, particularly on a domain customers already use.
Open the domain in a browser that is not signed into the admin. You are checking four things, in this order:
1. **It resolves and the certificate is valid** — no browser warning.
2. **The design you saved is the one you see.**
3. **Listings appear**, for the location you expect. If not, this is a publishing question rather than a domain one.
4. **A test order completes through checkout.** Nothing else proves the storefront is launched.
Then go through it properly before you announce it, on every location the storefront serves rather than just the one you happened to test.
## How do I know it worked?
* **The domain shows Connected**, and it is marked **Primary** if it is the address you want customers on.
* **The certificate is valid** in a browser, with no warning.
* **Other domains redirect** to the primary rather than serving a duplicate storefront.
* **A test order goes all the way through checkout** on the live domain.
## Troubleshooting / Common Pitfalls
**Usually propagation rather than a mistake.** DNS can take up to 24 hours, and verifying before the records are visible fails exactly as it would if they were wrong.
**What to do:** wait, then **Verify** again or use **Refresh status**. If it still fails after a day, re-read the record values — the host field is the part most often entered with the domain appended twice.
**That is the SSL certificate being provisioned, and it needs nothing from you.** It normally completes in a few minutes.
**What to do:** leave it. If it has not moved to **Connected** after a few hours, open the setup dialog to check for a reported error.
**Cause:** your DNS provider does not support CNAME, ALIAS or ANAME records at the apex. Not all do.
**What to do:** use a subdomain such as `shop.yourbrand.com`, or move the zone to a provider that supports apex aliasing. This is a registrar limitation, not a TWICE setting.
**Not a domain or theme problem.** The site is serving correctly; nothing is published to it.
**What to do:** check the three gates on the listings — Status, store locations, sales channels. See [Where a listing sells](/docs/guides/sales-channels/control-where-a-listing-sells).
**Domains are Owner and Admin only** — `account_settings:domain`. Manager and Member do not hold it, even though Manager can edit the storefront itself.
**What to do:** ask an Owner or Admin to connect the domain. The theme work does not need them.
**Expected until one is primary.** Every Connected domain serves the site; only the primary makes the others redirect.
**What to do:** **Set as primary** on the one you want canonical. The rest will 301 to it.
## Next Steps
Getting the catalog onto the storefront you just launched.
Every status, action and DNS record in full.
Every panel behind the design step.
Configuring the checkout the storefront sends customers to.
sales-channels/online-store
You do not create an online store in TWICE — every account has one, already reachable at an address TWICE provides. Launching is therefore not a build; it is three decisions: how it looks, how customers pay, and what address it answers on.
This guide is that sequence, ending with the storefront live on your own domain.
## Prerequisites
**Required permissions:** `online_store:editor` to design the storefront and `online_store:settings` to change store settings. Connecting a domain needs `account_settings:domain`.
**These do not line up with one role.** Manager holds the online-store permissions but **not** domains. Member holds `online_store:editor` but **not** `online_store:settings`, so a Member can edit the theme and not the store's configuration. **Domains are Owner and Admin only.** See [Users & Roles](/docs/settings/users-roles).
**Before you start, have ready:**
* **Access to your domain's DNS**, at the registrar or wherever the zone is hosted. You cannot finish without it, and it is the step most likely to need someone else.
* **A working checkout**, or the willingness to configure one — a storefront customers cannot pay through is not launched. See [Checkouts](/docs/settings/checkouts).
## The Walkthrough
Open **Sales Channels → Online Store**. The storefront exists and is already served at the address TWICE assigns your site; there is no "create store" action to look for.
That address stays valid after you connect a custom domain, so it is a useful fallback while DNS is propagating and a safe place to check your work before you point a real domain at it.
Pick a theme and work through its settings. Each panel is documented on its own page — [Colors](/docs/sales-channels/online-store/theme-editor/settings/colors), [Typography](/docs/sales-channels/online-store/theme-editor/settings/typography), [Logo](/docs/sales-channels/online-store/theme-editor/settings/logo), [Buttons](/docs/sales-channels/online-store/theme-editor/settings/buttons), [Layout](/docs/sales-channels/online-store/theme-editor/settings/layout) — so this guide will not repeat them.
Do enough to be presentable: logo, colors, typography, and the home page. The rest can follow after launch. See [Themes](/docs/sales-channels/online-store/themes) and the [Theme Editor](/docs/sales-channels/online-store/theme-editor/overview).
**Save writes straight to the live storefront.** There is no draft, no publish step and no theme library — your account has exactly one storefront configuration, and the editor edits it in place.
Plan around that rather than against it: make changes in a sitting you can finish, use the editor's own preview across desktop, tablet and mobile before saving, and expect customers to see the result as soon as you do. Closing the editor with unsaved changes prompts you to save or discard.
**Designing the storefront is not the same as putting listings on sale.** The theme decides how the storefront looks; three separate settings decide what a customer can actually buy there. If the storefront renders but the catalog looks empty, that is not a theme problem — see [Where a listing sells](/docs/guides/sales-channels/control-where-a-listing-sells).
A storefront needs a checkout to take money. Configure one under [Checkouts](/docs/settings/checkouts), then attach it — a checkout can be attached per location, so a site with different payment arrangements per store is handled here rather than by duplicating the storefront.
Check the payment methods on the checkout are the ones you intend to offer before you send a customer to it.
Go to **Settings → Domains** and select **Connect a domain**. Enter the hostname — `shop.yourbrand.com`, or the root `yourbrand.com`. TWICE validates the format and creates the record with status **Needs setup**.
The next screen shows the DNS records to add at your registrar. Add them exactly as shown.
**A root domain works via CNAME** where your DNS provider supports CNAME, ALIAS or ANAME at the apex. Not every provider does, and that is a property of your registrar rather than of TWICE.
**DNS changes can take up to 24 hours to propagate**, though they are usually much faster. There is nothing to do but wait, and verifying too early simply fails and can be retried.
Once the records are live, return to the setup dialog and select **Verify**. TWICE checks the hostname resolves, then provisions a TLS certificate through Cloudflare.
The status tells you exactly where you are:
| Status | What it means | What to do |
| --------------- | --------------------------------------------------------- | --------------------------------------------------------------------- |
| **Needs setup** | The record exists; DNS is not verified | Add the DNS records, then **Verify** |
| **Verifying** | DNS checked out; the SSL certificate is being provisioned | Nothing. It usually finishes in a few minutes |
| **Connected** | SSL is active and traffic is routing | You are live on this domain |
| **Failed** | Verification or provisioning failed | Open **View setup instructions** to see the error, fix the DNS, retry |
**Refresh status** re-checks with Cloudflare when you do not want to wait for the next poll.
A **Connected** domain serves the storefront. Making it **primary** makes it the canonical one: every other domain on the account **301-redirects** to it.
Use **Set as primary** once you are satisfied the domain works. Do it before you advertise the address, because the redirect is what stops the same storefront being indexed at two addresses.
**Deleting a Connected domain takes the storefront off that address immediately**, and reconnecting means verifying from scratch. The confirmation says so — read it rather than clicking through, particularly on a domain customers already use.
Open the domain in a browser that is not signed into the admin. You are checking four things, in this order:
1. **It resolves and the certificate is valid** — no browser warning.
2. **The design you saved is the one you see.**
3. **Listings appear**, for the location you expect. If not, this is a publishing question rather than a domain one.
4. **A test order completes through checkout.** Nothing else proves the storefront is launched.
Then go through it properly before you announce it, on every location the storefront serves rather than just the one you happened to test.
## How do I know it worked?
* **The domain shows Connected**, and it is marked **Primary** if it is the address you want customers on.
* **The certificate is valid** in a browser, with no warning.
* **Other domains redirect** to the primary rather than serving a duplicate storefront.
* **A test order goes all the way through checkout** on the live domain.
## Troubleshooting / Common Pitfalls
**Usually propagation rather than a mistake.** DNS can take up to 24 hours, and verifying before the records are visible fails exactly as it would if they were wrong.
**What to do:** wait, then **Verify** again or use **Refresh status**. If it still fails after a day, re-read the record values — the host field is the part most often entered with the domain appended twice.
**That is the SSL certificate being provisioned, and it needs nothing from you.** It normally completes in a few minutes.
**What to do:** leave it. If it has not moved to **Connected** after a few hours, open the setup dialog to check for a reported error.
**Cause:** your DNS provider does not support CNAME, ALIAS or ANAME records at the apex. Not all do.
**What to do:** use a subdomain such as `shop.yourbrand.com`, or move the zone to a provider that supports apex aliasing. This is a registrar limitation, not a TWICE setting.
**Not a domain or theme problem.** The site is serving correctly; nothing is published to it.
**What to do:** check the three gates on the listings — Status, store locations, sales channels. See [Where a listing sells](/docs/guides/sales-channels/control-where-a-listing-sells).
**Domains are Owner and Admin only** — `account_settings:domain`. Manager and Member do not hold it, even though Manager can edit the storefront itself.
**What to do:** ask an Owner or Admin to connect the domain. The theme work does not need them.
**Expected until one is primary.** Every Connected domain serves the site; only the primary makes the others redirect.
**What to do:** **Set as primary** on the one you want canonical. The rest will 301 to it.
## Next Steps
Getting the catalog onto the storefront you just launched.
Every status, action and DNS record in full.
Every panel behind the design step.
Configuring the checkout the storefront sends customers to.